


The repair and replacement of the container door header typically involve the following steps:
Safety Preparation: Ensure the working environment is safe, clear the area of debris, and wear appropriate safety protective gear.
Inspect Damage: Carefully inspect the damage to the container door header, including cracks, deformations, rust, and other defects, to assess whether it can be restored to functionality through repair.
Surface Preparation: If repair is feasible, the surface of the door header must be prepared by removing rust, grease, and other contaminants to ensure a smooth and clean surface for the application of repair material.
Apply Repair Material: Choose the appropriate repair material based on the nature and extent of the damage. This could include metal patching compounds, welding materials, or other adhesives suitable for the material of the door header. Follow the manufacturer's instructions for application to ensure a strong and durable repair.
Post-Processing: Once the repair material has been applied, perform any necessary finishing work, such as grinding down rough edges or painting to match the existing finish of the container.
Testing: Conduct necessary tests on the repaired container door header to ensure its structural integrity and stability. This could include visual inspections, load tests, or other relevant tests depending on the specific requirements.
Obtain New Door Header: Acquire a suitable new container door header that matches the specifications and dimensions of the original. Ensure it is compatible with the existing container structure and door mechanism.
Remove Old Door Header: Using appropriate tools and techniques, carefully disassemble the old container door header from the container. Take care to avoid damaging the surrounding areas or other components of the container.
Prepare Installation Area: Ensure the installation area is clean and free of debris. Prepare the necessary brackets, fasteners, or welding equipment required for the installation of the new door header.
Install New Door Header: Install the new container door header in accordance with the manufacturer's instructions or the existing container structure. Secure it firmly using welding, bolts, or other appropriate fasteners.
Adjust and Align: Adjust the position and alignment of the new door header to ensure it fits snugly and operates smoothly with the container door. This may involve minor adjustments to the brackets or fasteners.
Inspection and Testing: After installation, thoroughly inspect the new container door header to ensure it is securely installed and free from defects. Test the door's operation to verify that the new header does not interfere with its movement and functions as intended.
It is important to note that both repair and replacement of the container door header should be performed by skilled personnel who are familiar with container construction and repair techniques. Adhering to safety procedures and using the appropriate tools and materials are crucial to ensure a successful and safe outcome. If the damage is extensive or complex, it is advisable to consult with a professional container repair service or manufacturer for advice and guidance.
|
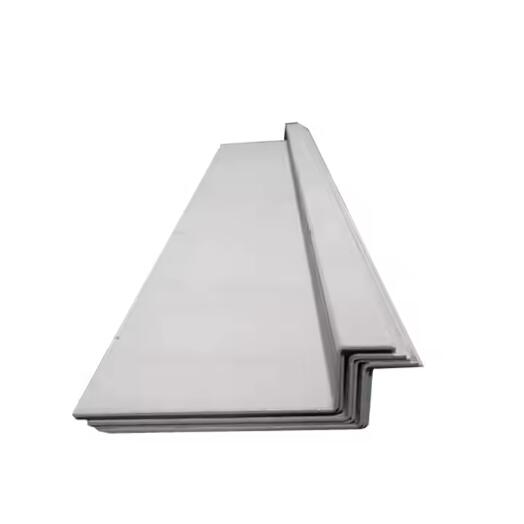
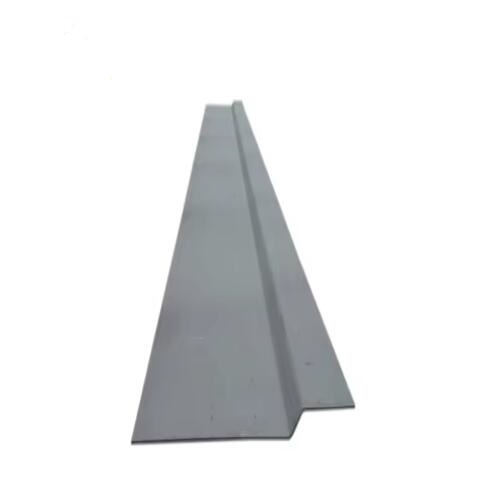
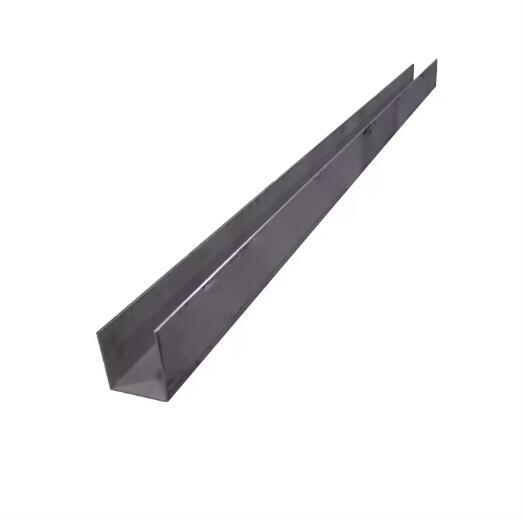
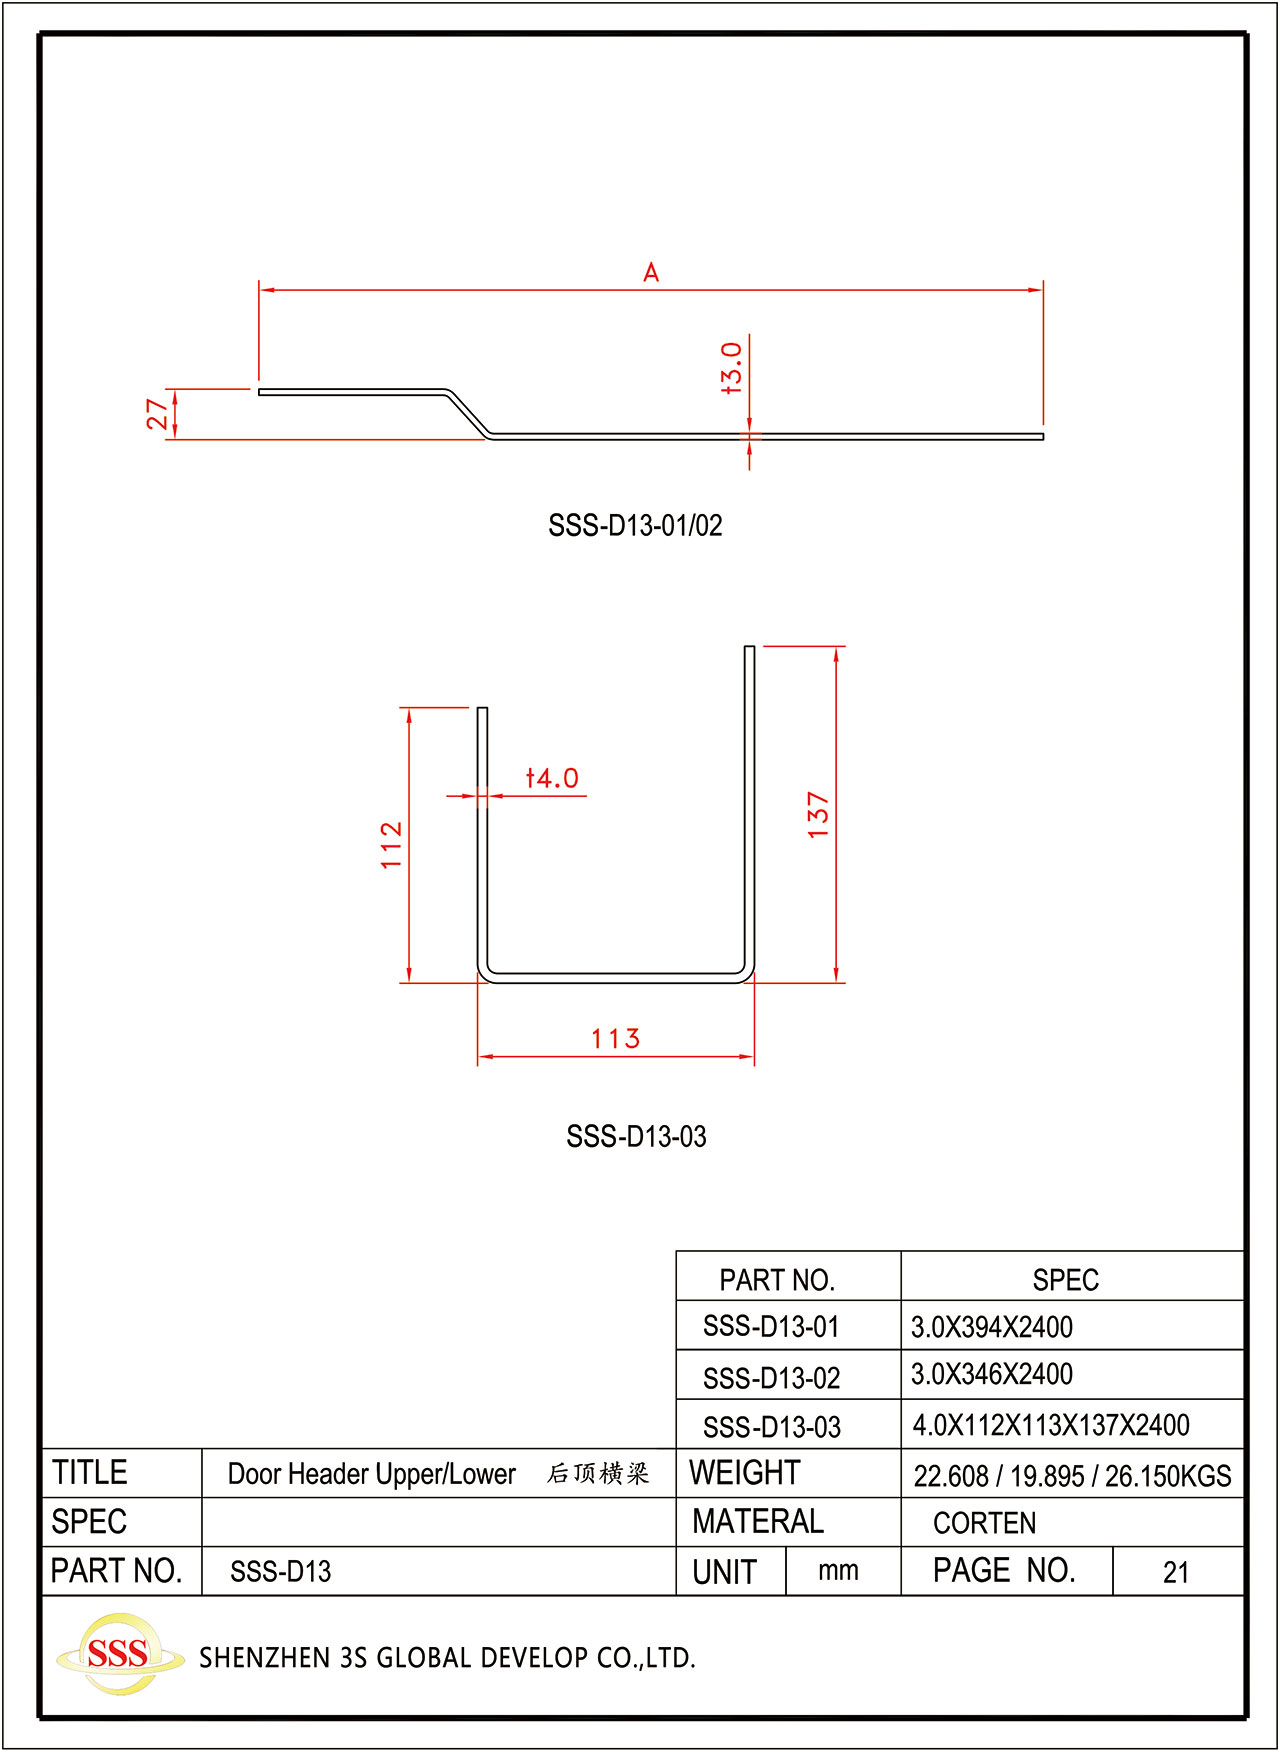
Door Header Upper/Lower 后顶横梁 |
SSS-D13-01 |
3.0*394*2400 |
20' |
|
|
SSS-D13-02 |
3.0*346*2400 |
40'/40'HC |
|
|
SSS-D13-03 |
4.0*112*113*137*2400 |
|